To make a dog-friendly first-aid kit, gather basic wound-care supplies, safe handling equipment, your dog’s medical information, and emergency contact details in a clearly labeled waterproof container. The kit is meant to support your dog during the first few minutes of an injury—not replace veterinary diagnosis or treatment.
A well-organized kit helps you respond calmly to minor cuts, paw injuries, insect stings, and transport problems. This guide explains what to include, what to leave out, how to adapt the kit for your dog, and when to stop first aid and seek professional care.
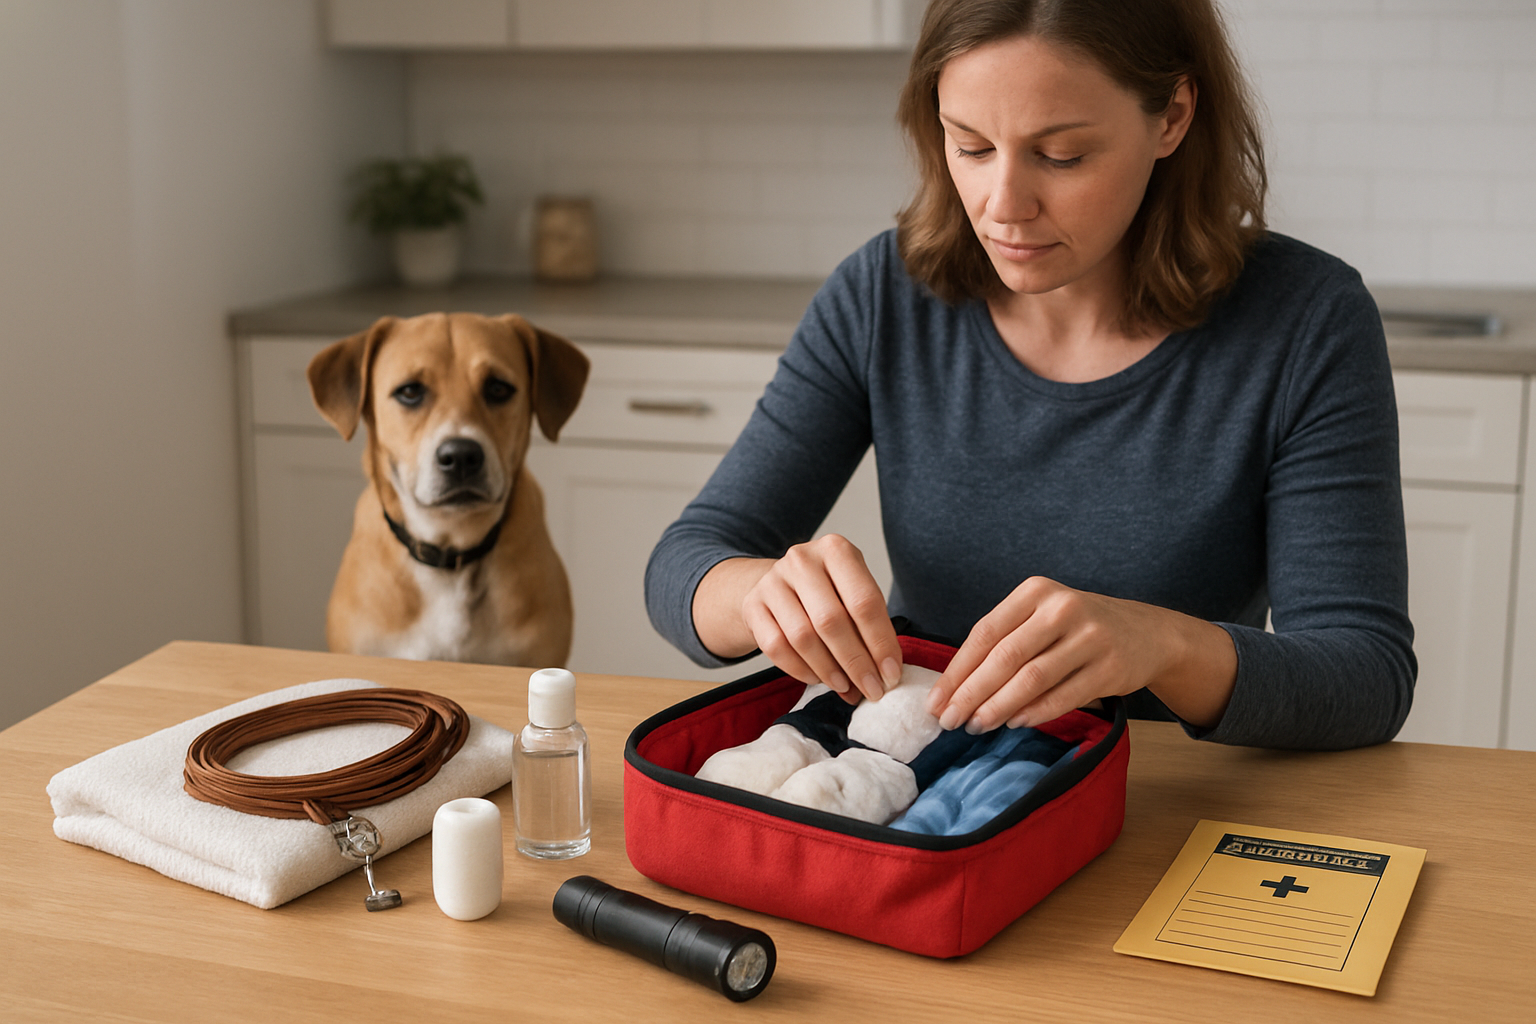
1. Prepare the container and emergency information first
Choose a durable, waterproof pouch or plastic box that opens quickly. A bright color or large “Dog First Aid” label makes it easier for another household member, pet sitter, or dog walker to find in a stressful moment.
Keep one kit at home and consider a smaller version for your vehicle or hiking bag. The American Red Cross recommends keeping basic supplies, transport equipment, medications, identification details, and veterinary contacts together in an accessible location. Its pet preparedness guidance is a useful reference for building both a first-aid kit and a broader emergency kit.
- Your regular veterinarian’s name and phone number
- The nearest 24-hour emergency veterinary hospital
- Your dog’s name, weight, age, allergies, and medical conditions
- A current medication list with instructions from your veterinarian
- Your dog’s microchip number and an identification photo
- Pet poison-control contact information for your region
Checkpoint: Ask someone who has not seen the kit before to locate the contacts and first-aid supplies. If they cannot find them quickly, reorganize the container.
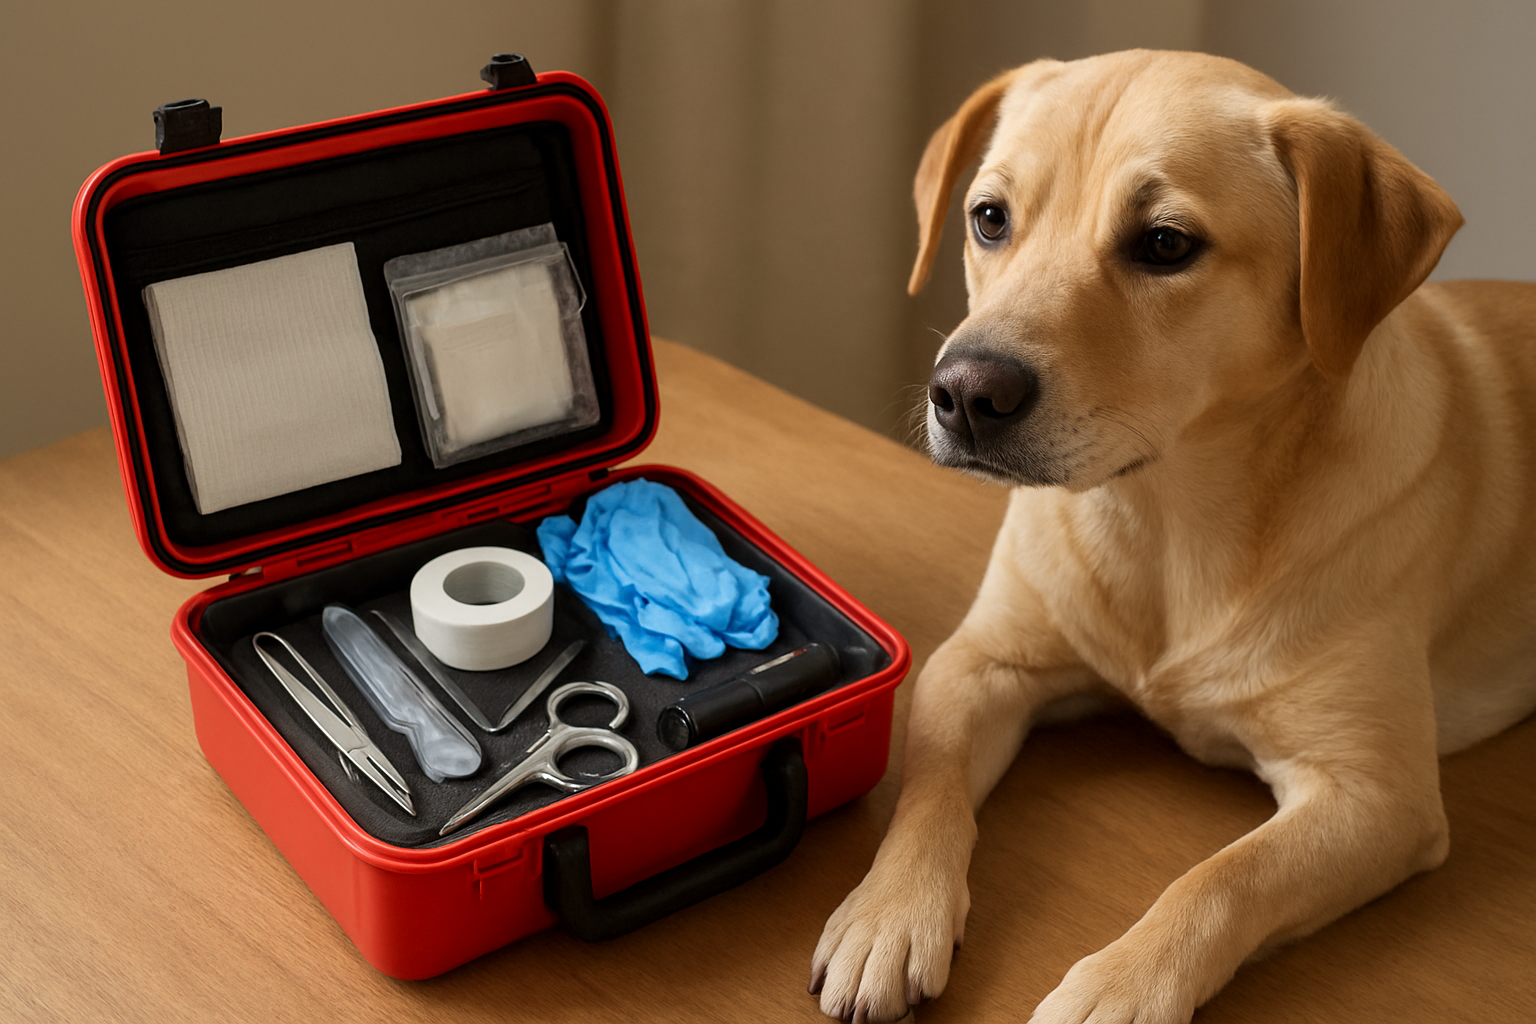
2. Add the core wound-care supplies
Most household dog first-aid situations involve bleeding, abrasions, torn nails, paw problems, or debris on the coat. Your supplies should let you apply gentle pressure, cover a wound temporarily, rinse visible dirt, and protect your hands.
| Supply | What to look for | Warning sign |
|---|---|---|
| Disposable gloves | Several pairs in different sizes | Using bare hands around blood or unknown substances |
| Gauze pads and roll gauze | Sterile pads plus a roll for securing dressings | Wrapping tightly enough to restrict circulation |
| Nonstick dressings | Sizes that cover small and medium wounds | Placing adhesive directly on fur or damaged tissue |
| Medical tape or cohesive bandage | Pet-safe, flexible material that is easy to tear | Applying a wrap that becomes cold, swollen, or discolored |
| Sterile saline | Wound or eye-rinse product with an intact seal | Using harsh cleaners inside a wound without advice |
| Blunt-ended scissors | Compact scissors suitable for trimming tape or fur | Cutting close to the skin while the dog is moving |
| Fine-tip tweezers | Useful for visible surface debris or a tick | Digging into skin to remove deeply embedded objects |
Clean towels are particularly useful for applying pressure, drying a wet dog, or creating a temporary barrier during transport. A small flashlight helps you inspect paws, ears, and the mouth when lighting is poor.
3. Include safe handling and transport equipment
Pain and fear can cause a gentle dog to bite. Include a leash, spare collar, slip lead, and a muzzle that your dog has been introduced to gradually. A muzzle should never be used to manage breathing difficulty, vomiting, or overheating, and it should not be put on a dog with a facial injury unless a veterinarian directs you.
Add a folded towel or lightweight blanket. It can provide warmth, protect you from sharp debris, or help move a small dog. For a larger injured dog, a blanket may work as a temporary stretcher when another person assists. VCA’s first-aid guidance emphasizes minimizing movement after possible trauma and contacting a veterinary hospital promptly.
- Leash, spare collar, or slip lead
- Appropriately sized muzzle or soft restraint option
- Towel or blanket
- Collapsible water bowl and bottled water
- Carrier or vehicle restraint for small dogs
- Reflective vest or light for roadside or nighttime emergencies
Checkpoint: Test the leash, carrier, and flashlight before you need them. Replace weak clips, dead batteries, or equipment your dog has outgrown.
4. Add dog-specific items carefully
Your dog’s size, breed, activity level, and health history should determine the extras. A hiking dog may need tick-removal tools and paw-protection supplies. A dog with diabetes, seizures, allergies, or another diagnosed condition may need a veterinarian-approved emergency item.
Keep prescribed medications in their original labeled packaging. Include enough for a short interruption only when your veterinarian has provided clear instructions. Do not add human pain relievers, cold medicines, anti-diarrhea products, or leftover prescriptions on your own. Some over-the-counter medicines can be toxic to dogs or interfere with emergency treatment; VCA’s medication safety guide explains why veterinary approval matters.
Hydrogen peroxide deserves special caution. Some veterinary resources list it as an item that may be used only when a veterinarian directs you. It should not be treated as a routine wound cleaner or a universal way to make a dog vomit. VCA’s preparedness checklist specifically limits its use to veterinary instruction.
5. Add a simple reference and practice plan
Store a printed emergency checklist inside the lid because mobile service may be unavailable. Include your dog’s normal behavior, medication schedule, and the location of the carrier, food, records, and evacuation supplies.
For structured learning, use the American Red Cross dog first-aid resources. They cover situations such as bleeding, choking, breathing problems, burns, heat stroke, seizures, and poisoning. Reading instructions in advance is safer than trying to learn a technique during a crisis.
Practice touching your dog’s paws, ears, mouth, and legs without forcing the interaction. Reward calm behavior. This can make a real examination easier, but never assume a familiar dog will tolerate handling when injured.
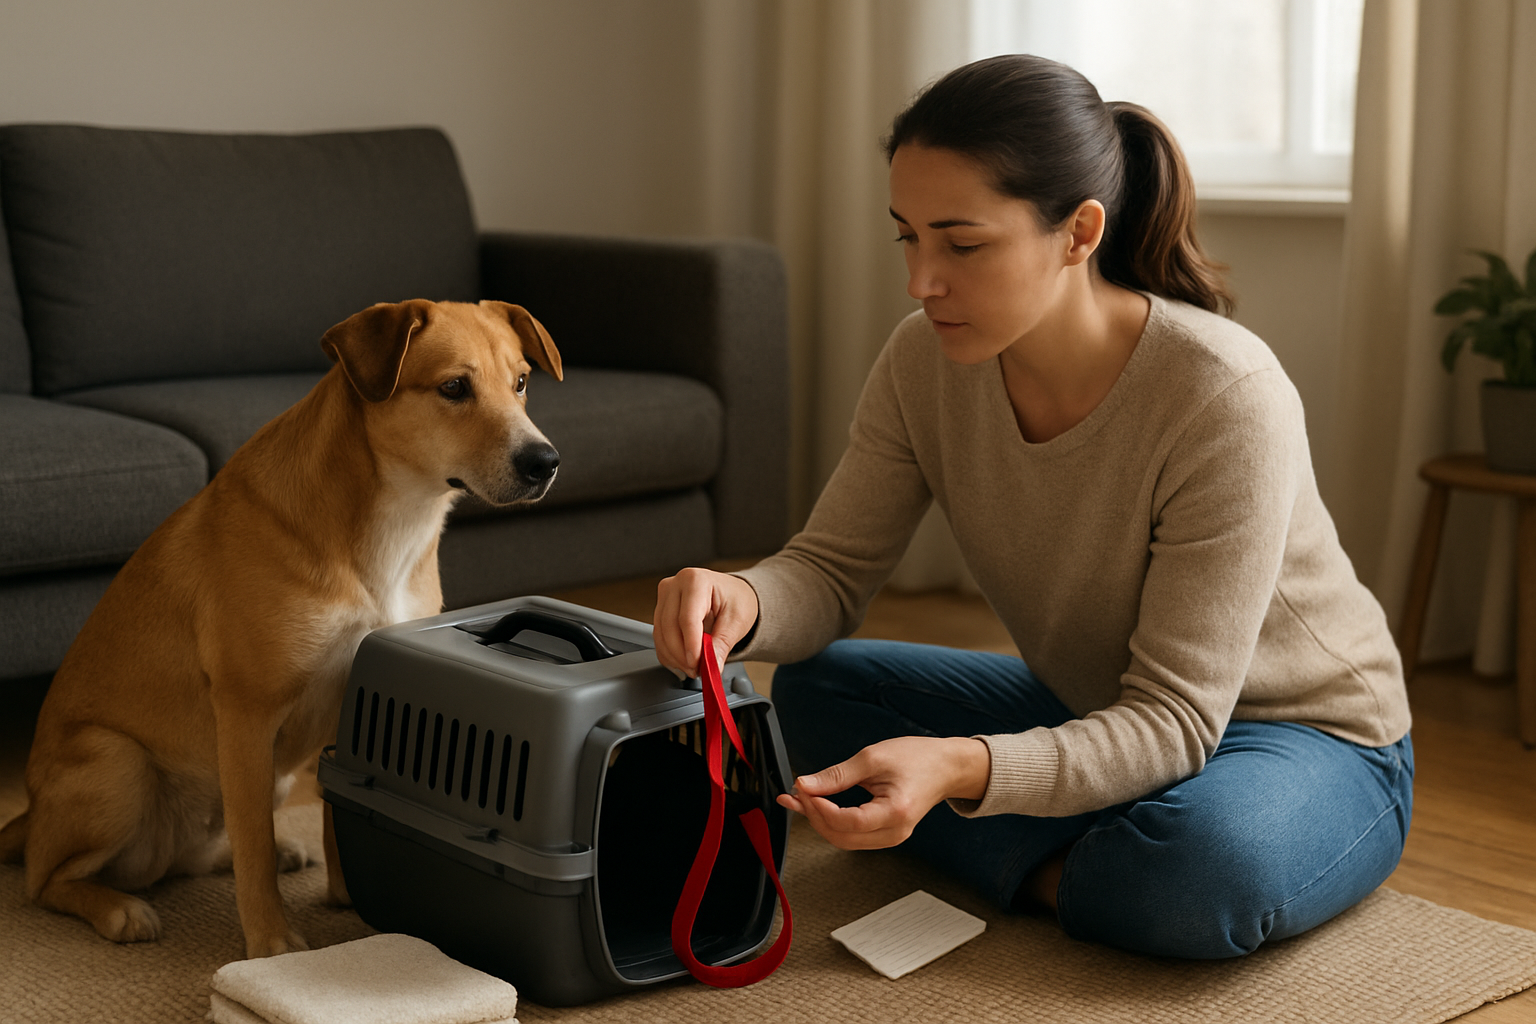
6. Know when the kit is not enough
First aid should focus on immediate protection while you contact a veterinary professional. Seek urgent care for trouble breathing, collapse, uncontrolled bleeding, suspected poisoning, heat stroke, severe burns, seizures, a swollen abdomen, major trauma, pale or blue gums, or an object stuck in the airway.
Do not delay transport while trying to complete a home treatment. Call the veterinary hospital on the way when possible so the team can prepare. Even when an injury appears minor, a veterinary examination may be appropriate after a road accident, bite, fall, deep puncture, or exposure to a potentially toxic substance.
Actionable dog first-aid kit checklist
- Waterproof, labeled container
- Disposable gloves
- Sterile gauze pads and roll gauze
- Nonstick dressings and cohesive bandage
- Medical tape
- Sterile saline
- Blunt-ended scissors and tweezers
- Clean towels or a blanket
- Leash, spare collar, and suitable muzzle
- Flashlight with spare batteries
- Dog’s records, medication list, and identification photo
- Veterinarian, emergency hospital, and poison-control contacts
- Veterinarian-approved medications or condition-specific supplies only
Common mistakes to avoid
- Using human medicine casually: Never assume a familiar household drug is safe for your dog.
- Wrapping too tightly: Check toes and skin for swelling, coldness, or color changes.
- Leaving the kit in extreme heat: Heat can damage medications, adhesives, and some sterile products.
- Keeping only one kit: A home kit may not help if an injury happens on a trail or during travel.
- Forgetting replacement dates: Inspect saline, dressings, batteries, and medications regularly.
- Trying to remove deep objects: Stabilize the area and seek veterinary care instead.
What if your dog will not cooperate?
Do not wrestle with a frightened or painful dog. Move people away, reduce noise, use a leash if it is safe, and call your veterinary hospital for handling advice. If there is a risk of biting, tell the clinic before arrival so staff can plan a safer examination.
If you are unsure whether an injury is serious, treat uncertainty as a reason to call. Describe what happened, when it happened, your dog’s approximate weight, visible symptoms, and anything your dog may have swallowed or contacted.
Next actions
- Choose and label a waterproof container today.
- Save your veterinarian and nearest emergency hospital in your phone.
- Assemble the core supplies before adding optional items.
- Ask your veterinarian which medications, if any, belong in your dog’s kit.
- Place a printed contact sheet inside the kit.
- Check the kit every few months and after every use.
- Take a recognized pet first-aid course or review trusted veterinary guidance before an emergency occurs.
The best dog-friendly first-aid kit is not the largest one. It is the kit you can find quickly, understand easily, and use without taking unsafe risks. Build it around basic wound care, safe transport, your dog’s individual needs, and a clear plan for contacting veterinary help.
Pingback: How to Safely Introduce a New Dog to Your Existing Dog – LaokPet
Pingback: How to Help a Dog Stay Calm During a Thunderstorm: A Practical Step-by-Step Guide – LaokPet
Pingback: Best GPS Trackers for Dogs Without Monthly Fees: What Actually Works – LaokPet