How to safely clean a cat’s ears at home: use a veterinarian-approved feline ear cleaner, cotton balls or gauze, and gentle surface cleaning only. Stop if your cat shows pain, and arrange a veterinary examination if you notice odor, discharge, swelling, bleeding, head shaking, or persistent scratching.
Many healthy cats need little routine ear cleaning. Cleaning is most useful when your veterinarian recommends it or when you can see a small amount of loose wax or debris at the ear opening. This guide explains how to prepare, how to clean without forcing tools into the canal, and how to recognize signs that home care is not appropriate.
1. Decide whether the ears should be cleaned
Start in good light and compare both ears. A healthy ear is usually calm-looking, without marked redness, strong odor, swelling, or wet discharge. A small amount of pale wax can be normal, but repeated buildup may have an underlying cause.
Dark, crumbly material can occur with ear mites, while yellow, pus-like, or foul-smelling discharge may indicate infection. These signs cannot be diagnosed reliably by appearance alone, so cleaning should not replace an examination. Cornell University’s feline health guidance recommends veterinary attention for abnormal discharge and other ear problems. Read Cornell’s overview of feline ear disorders.
- Suitable for cautious home cleaning: mild visible debris, no pain, no strong odor, and no obvious inflammation.
- Pause and call your veterinarian: your cat cries, bites, withdraws, tilts the head, loses balance, or resists because the ear appears painful.
- Seek prompt veterinary care: bleeding, severe swelling, pus, sudden hearing changes, facial weakness, or marked loss of balance.
2. Prepare the right supplies
Choose a cleaning solution labeled for cats and preferably selected with veterinary guidance. Different products are designed for different purposes, such as loosening wax or drying excess moisture, and the appropriate choice depends on the ear’s condition. VCA advises asking a veterinarian which ear cleaner is best for your pet. See VCA’s guidance on otic cleansing products.
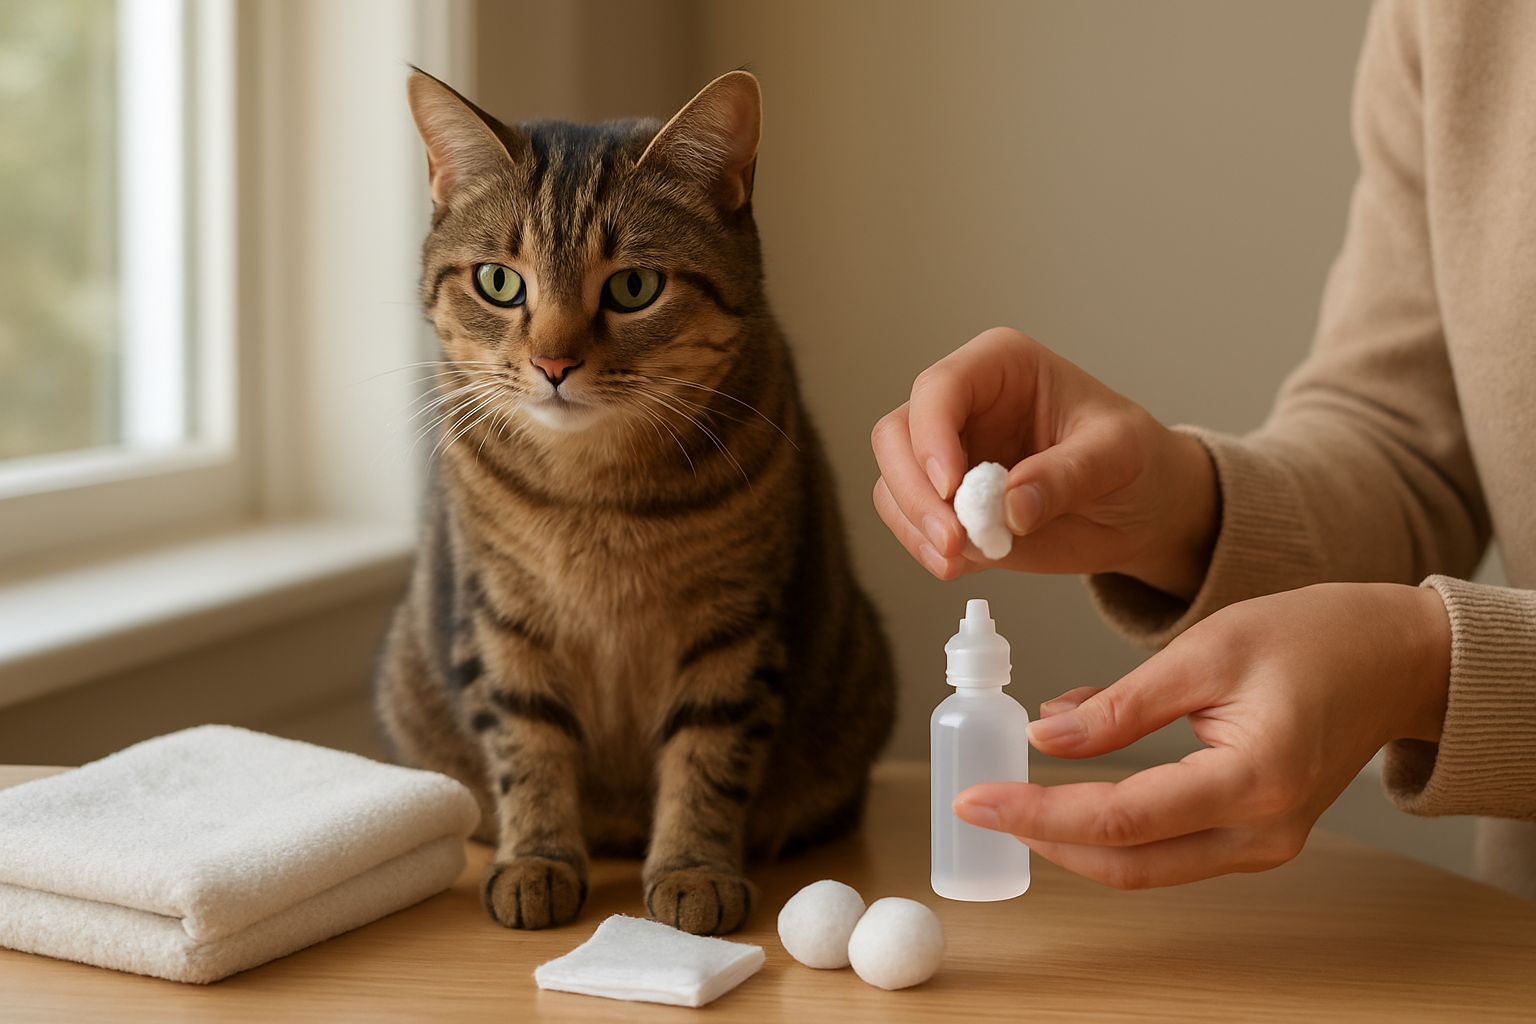
Set everything within reach before you begin:
- Cat-specific ear-cleaning solution
- Several cotton balls or squares of gauze
- A towel, if your cat feels safer being gently wrapped
- Small treats for calm cooperation
- A washable surface or towel to catch shaking and spills
Never share a bottle between animals unless your veterinarian specifically tells you to do so. Keep the nozzle clean and do not allow it to touch the ear.
Use this comparison as a quick safety check before starting.
| What to look for | Safer choice | Warning sign |
|---|---|---|
| Cleaning product | Cat-specific ear cleaner with clear directions | Human ear drops, alcohol, peroxide, oils, or homemade mixtures |
| Cleaning material | Cotton balls or soft gauze for visible surfaces | Cotton swabs pushed into the canal |
| Cat’s behavior | Relaxed or mildly uncertain but manageable | Strong resistance, crying, scratching, or signs of pain |
| Ear appearance | Small amount of loose wax without inflammation | Odor, pus, blood, swelling, or heavy dark debris |
3. Make the cleaning area calm
Choose a quiet room and a time when your cat is naturally settled. Sit on the floor or use a stable surface where your cat cannot fall. If possible, have another adult offer treats and gently steady the cat’s body.
For a nervous cat, begin with a practice session that does not involve liquid. Touch the outer ear, reward calm behavior, and stop after a few seconds. Repeat later rather than trying to complete the entire process during the first attempt.
4. Clean the ears step by step
Step 1: Inspect the outer ear
Lift the ear flap gently and look only as far as is comfortable. Do not stretch the ear forcefully or insert anything to search for hidden debris.
Step 2: Apply the cleaner
Hold the bottle above the ear without touching the nozzle to the skin. Apply the amount directed on the product label or by your veterinarian. VCA’s procedure describes filling the canal with an appropriate cleaner when directed, while keeping the bottle tip out of the ear. Follow VCA’s detailed cat ear-cleaning instructions.
Step 3: Massage the base
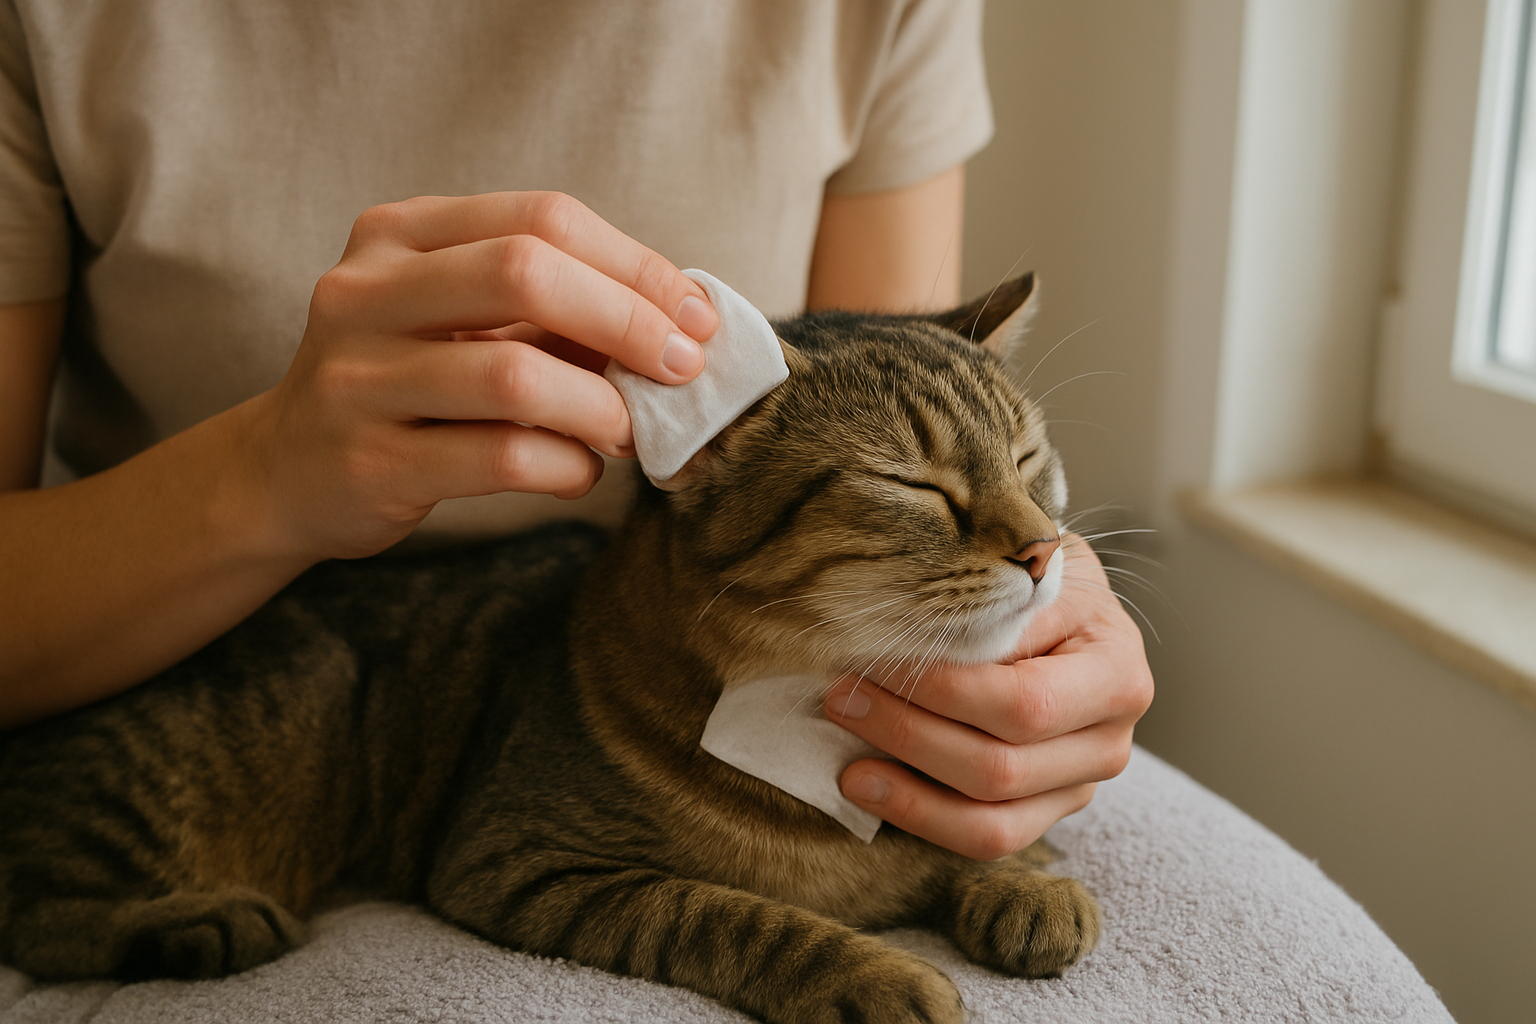
Place your fingers around the base of the ear and massage gently for about 20 to 30 seconds, or according to your veterinarian’s instructions. You may hear a soft squishing sound as the solution moves through loosened wax. Stop immediately if your cat shows clear discomfort.
Step 4: Let your cat shake
Allow your cat to shake its head. This helps move loosened material toward the outer part of the ear. Keep your face away from the shaking path and expect some solution to land on the towel.
Step 5: Wipe what you can see
Use a fresh cotton ball or gauze to wipe the ear flap and the visible entrance to the canal. Work gently and change the material as it becomes dirty. Do not dig downward, scrape, or twist material deeper into the ear.
Step 6: Reward and reassess
Offer a treat and end the session while your cat is still coping well. Check both ears again later, not repeatedly within the same session. Excessive cleaning can irritate the skin and may worsen sensitivity.
5. Check the ears after cleaning
A successful session should leave the outer ear visibly cleaner without new redness, bleeding, or increased sensitivity. Your cat may shake its head briefly after liquid is applied, but persistent shaking or scratching is not a normal goal of cleaning.
Monitor the ears over the next day or two. If odor, discharge, redness, or discomfort returns quickly, the problem may require diagnosis and medication rather than more cleaning. Ear mites and infections are treated differently, and a veterinarian may need to examine debris under a microscope. Cornell notes that ear-mite treatment commonly begins with thorough cleaning, but diagnosis and treatment still need to be appropriate for the cause. Learn how veterinarians identify ear mites.
Common mistakes that make ear cleaning less safe
- Using cotton swabs deep inside the ear: they can push wax farther down and may injure delicate structures. Use cotton or gauze only where you can see.
- Cleaning because the ear looks slightly dirty: routine cleaning is not automatically necessary for every cat.
- Using human products or kitchen ingredients: these may irritate the canal or be unsuitable if the eardrum is damaged.
- Continuing through pain: forcing the process can create fear and may worsen an untreated problem.
- Ignoring recurring debris: repeated buildup, odor, or scratching deserves a veterinary assessment.
- Sharing applicator tips: touching the nozzle to the ear can transfer bacteria or yeast; clean the tip according to the product directions.
What if your cat will not cooperate?
Do not wrestle your cat or pin the head tightly. Try shorter sessions, softer rewards, and a different position. Some cats tolerate being held against your body, while others do better standing on the floor with one person offering treats.
If your cat becomes distressed, stop and contact your veterinary clinic for handling advice. A clinic can determine whether the ears are painful and may recommend professional cleaning, especially when there is heavy debris or suspected infection.
Practical checklist before you begin
- Both ears have been inspected in good light.
- There is no severe pain, bleeding, swelling, pus, or balance problem.
- You have a cat-specific cleaner and soft cotton or gauze.
- The bottle instructions or veterinary directions are available.
- The room is quiet, stable, and easy to clean.
- You have treats and a plan to stop if your cat becomes painful or panicked.
Advanced advice for recurring ear problems
Keep a simple record of cleaning dates, symptoms, product used, and your cat’s reaction. This can help your veterinarian identify patterns. Do not increase cleaning frequency on your own when signs keep returning; the underlying issue could involve parasites, allergy-related inflammation, infection, foreign material, or another ear disorder.
Cats with previous ear disease may need a specific maintenance schedule, but that schedule should come from the treating veterinarian. Follow prescribed medication exactly and do not substitute a general cleaner for medication.
Next actions
- Inspect your cat’s ears today without inserting anything.
- If the ears look comfortable and only mildly dirty, gather a feline ear cleaner, cotton, and treats.
- Complete one short, gentle cleaning session using the steps above.
- Record any odor, discharge, redness, head shaking, or scratching.
- Book a veterinary appointment if symptoms are painful, severe, recurring, or unexplained.
Learning how to safely clean a cat’s ears at home means knowing when to clean and when to stop. For a comfortable ear with minor visible debris, gentle surface care may be enough; for pain, odor, discharge, or repeated buildup, a veterinary examination is the safer next step.