To remove a tick from a dog safely, use fine-tipped tweezers or a tick-removal tool, grip the tick close to the skin, and pull upward with slow, steady pressure. Do not twist sharply, crush the tick, or apply petroleum jelly, alcohol, oil, or heat while it is attached.
A tick can be small, difficult to see, and attached in a sensitive area. The goal is to remove the entire tick without squeezing its body, then clean the site and monitor your dog for changes. This guide explains what to prepare, how to work through the removal, and when a veterinarian should be involved.
1. Prepare before removing the tick
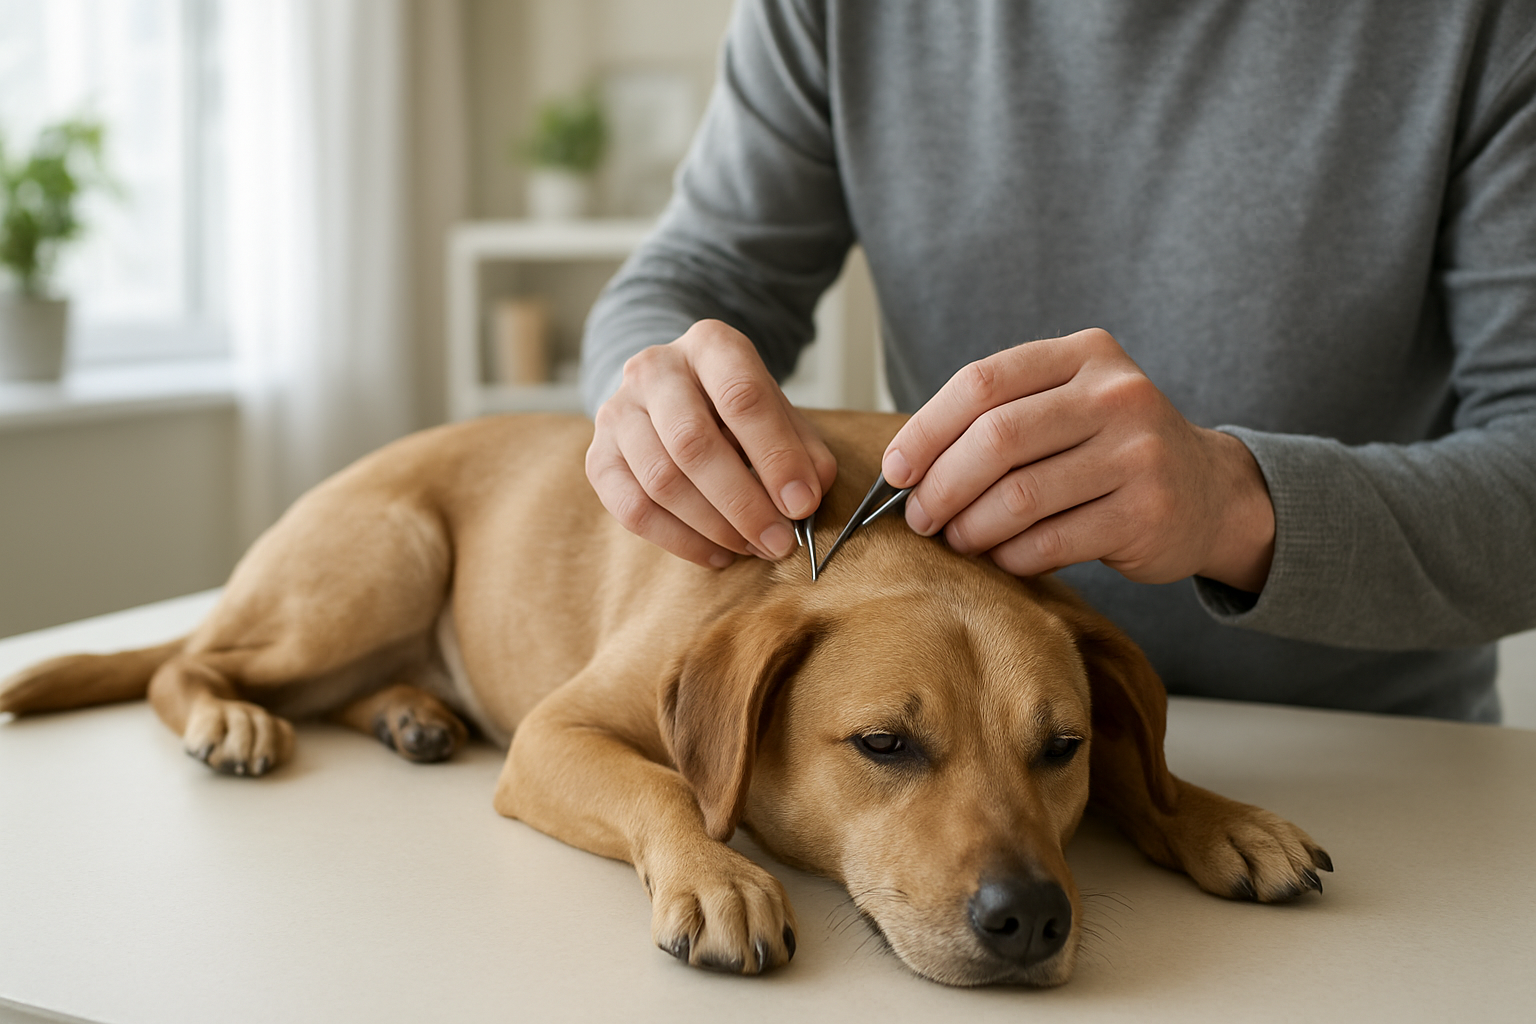
Choose a bright, comfortable location where your dog can stay still. Ask another adult to gently hold your dog if needed, especially when the tick is near the face, ears, paws, or between the toes.
Gather the following items before you begin:
- Fine-tipped tweezers or a purpose-made tick-removal tool
- Disposable gloves, if available
- Pet-safe antiseptic recommended for use on minor skin wounds
- Clean gauze or a paper towel
- A small sealable container or zip-top bag
- Good lighting, such as a lamp or a phone flashlight
Do not try to remove the tick with your bare fingers if you can avoid it. Also keep children away from the process, and prevent your dog from licking the area immediately afterward.
Check the location first
Ticks often hide in areas that are warm, protected, or easy to miss. Carefully inspect the ears, eyelids, collar area, under the front legs, between the toes, around the tail, and along the belly and groin. Run your fingertips gently through the coat, looking for a firm bump attached to the skin.
2. Identify the tick and choose the right technique
A tick may look like a dark speck before feeding and become rounder or lighter after it has been attached for some time. A small skin tag, scab, or nipple can look similar, so do not pull at an unfamiliar bump without first checking its position and appearance.
Fine-tipped tweezers are useful because they allow you to grip the tick close to the skin. A tick-removal hook can also work when used according to its instructions. The important point is not the brand or shape of the tool; it is avoiding pressure on the tick’s abdomen.
The table below summarizes what to look for during the process.
| Stage | What to look for | Warning sign |
|---|---|---|
| Before gripping | The tick is clearly attached and the skin is visible around it | You cannot tell whether the bump is a tick |
| Tool placement | The tweezers sit close to the skin, below the tick’s body | You are pinching the swollen body instead of the mouth area |
| Removal | The tick comes away with slow, straight traction | The skin is being pulled hard or your dog is struggling |
| After removal | The site is mildly irritated but clean | Heavy bleeding, marked swelling, pus, or severe pain |
3. Remove the tick with steady pressure
Part the fur so you can see where the tick enters the skin. Place the tips of the tweezers as close to the skin as possible and grip the tick firmly without squeezing its body.
- Hold the tweezers parallel to the skin.
- Grip the tick at its attachment point, not at the rounded abdomen.
- Pull upward slowly and steadily in one controlled motion.
- Continue until the tick releases. Avoid jerking, twisting, or rocking the tool.
- Place the tick in a sealed container or bag rather than crushing it with your fingers.
If part of the tick appears to remain in the skin, do not dig aggressively with a needle or blade. A small retained mouthpart may work its way out, but call your veterinarian for guidance if the area becomes painful, swollen, infected, or difficult to assess.
Checkpoint: You should now see a small bite site rather than an attached parasite. If the tick will not release, your dog cannot stay still, or the location is close to the eye or inside the ear, stop and ask a veterinary professional for help.
4. Clean the bite area and dispose of the tick
After removal, clean the skin with a pet-safe product that is appropriate for minor wounds. Use a small amount on gauze rather than pouring a strong disinfectant directly onto the skin. Follow any product label directions, and avoid products that are unsafe if licked.
Wash your hands thoroughly, even if you wore gloves. Seal the tick before disposal. Keeping it may help a veterinarian identify it if your dog later develops symptoms, although testing a tick does not replace veterinary assessment of your dog.
Do not apply household chemicals, essential oils, nail polish, alcohol, petroleum jelly, or a hot match to an attached tick. These methods can irritate or burn the skin and may cause the tick to regurgitate material into the bite site. They also make controlled removal more difficult.
5. Check your dog and monitor for changes
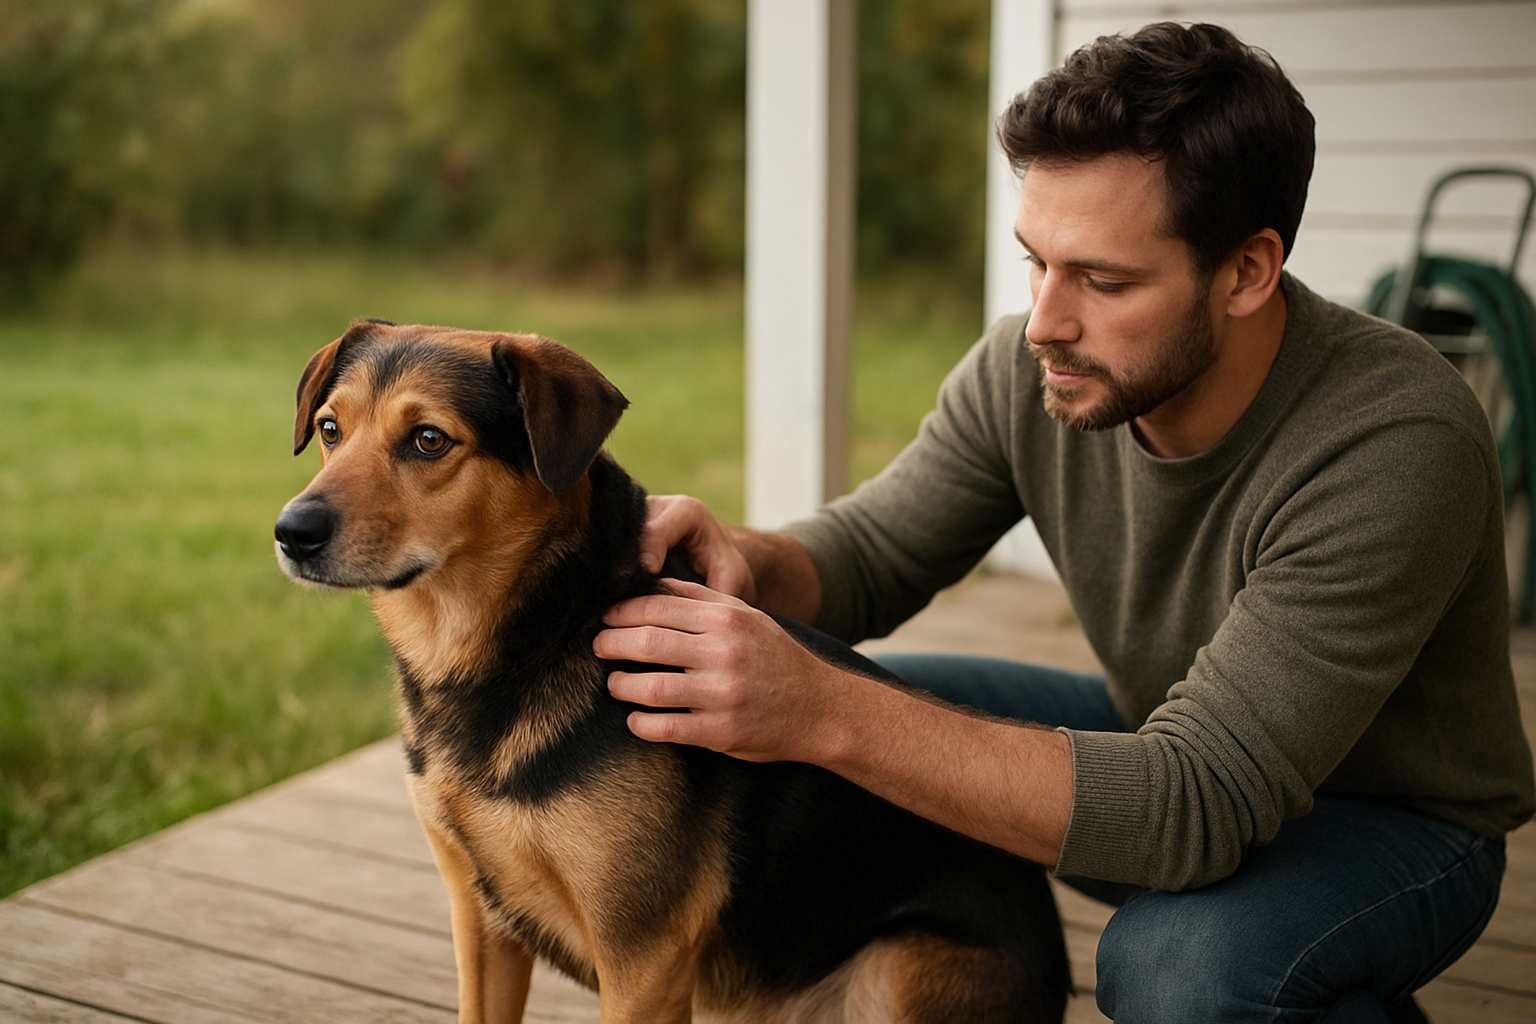
One attached tick may not be the only one. Repeat a slow inspection over the entire body, especially after outdoor walks. Use a comb for long coats and examine the skin beneath the collar and harness.
For the next several days and weeks, pay attention to your dog’s normal behavior and physical condition. Contact your veterinarian if you notice:
- Unusual tiredness, weakness, or reluctance to walk
- Loss of appetite, vomiting, or diarrhea
- Fever, shivering, pale gums, or breathing changes
- Swollen joints, lameness, or unexplained stiffness
- Dark urine, unusual bruising, or bleeding
- A bite site that becomes increasingly red, hot, swollen, painful, or produces discharge
These signs can have many causes, so do not assume that a tick caused them. Prompt veterinary advice is appropriate, particularly if symptoms are sudden, severe, or worsening. Seek urgent care for collapse, trouble breathing, severe weakness, or uncontrolled bleeding.
6. Prevent another tick attachment
Tick prevention should match your dog’s age, weight, health, lifestyle, and local parasite risks. Ask your veterinarian to recommend a suitable preventive product and schedule. Never use a product intended for another species or apply a dog product to a cat unless the label and a veterinarian specifically confirm it is safe.
After walks, reduce exposure by checking your dog before coming indoors and washing bedding regularly. Keep grass and brush trimmed where practical, and inspect outdoor resting areas. Prevention lowers risk, but it does not make daily checks unnecessary in areas where ticks are common.
If your household includes cats, keep their parasite plan separate and follow veterinary guidance. For related prevention information, see the practical guide to flea and tick prevention for indoor cats.
Common mistakes to avoid
- Grabbing the body: This can squeeze material toward the bite site and may leave the attachment point behind.
- Using a home remedy: Oils, grease, heat, and chemicals are not controlled removal methods.
- Pulling too quickly: A sudden jerk can make the tick break apart or injure the skin.
- Ignoring the rest of the coat: Finding one tick should prompt a complete inspection.
- Forgetting the date: Make a note of when you removed the tick and where it was attached.
- Waiting through serious symptoms: A dog that is weak, pale, collapsed, or having difficulty breathing needs prompt veterinary attention.
What if the removal does not go smoothly?
Your dog keeps moving
Stop rather than repeatedly tugging. Use treats and calm restraint only if your dog remains comfortable. If safe positioning is not possible, have a veterinary team remove the tick.
The tick is near the eye or inside the ear
These locations require extra precision. Do not use tweezers where a slip could injure the eye or ear canal. Contact a veterinarian or veterinary nurse for safe removal.
The bite becomes irritated
Mild redness may occur after removal, but expanding redness, warmth, swelling, discharge, or significant pain warrants veterinary advice. Prevent licking with suitable supervision or an appropriate protective collar if your veterinarian recommends one.
Practical checklist for next time
- Keep fine-tipped tweezers and a sealable container in your dog-walking kit.
- Inspect the coat and skin after outdoor activity.
- Record the date, location, and appearance of any removed tick.
- Check the ears, toes, collar area, armpits, belly, and tail base.
- Ask your veterinarian to review prevention at your dog’s next appointment.
Your next actions
If a tick is attached now, prepare the tools, secure your dog calmly, and remove it using the straight-pull method described above. Clean the site, seal the tick, and write down the removal date. Then complete a full body check and contact your veterinarian if the tick was difficult to remove, the bite looks abnormal, or your dog develops any concerning signs.
Knowing how to remove a tick from a dog safely helps you respond without panic, but removal is only one part of parasite care. A careful inspection routine and a veterinarian-approved prevention plan provide the most practical protection for future walks.